The 3-Day Potty Training: How We Made It Work
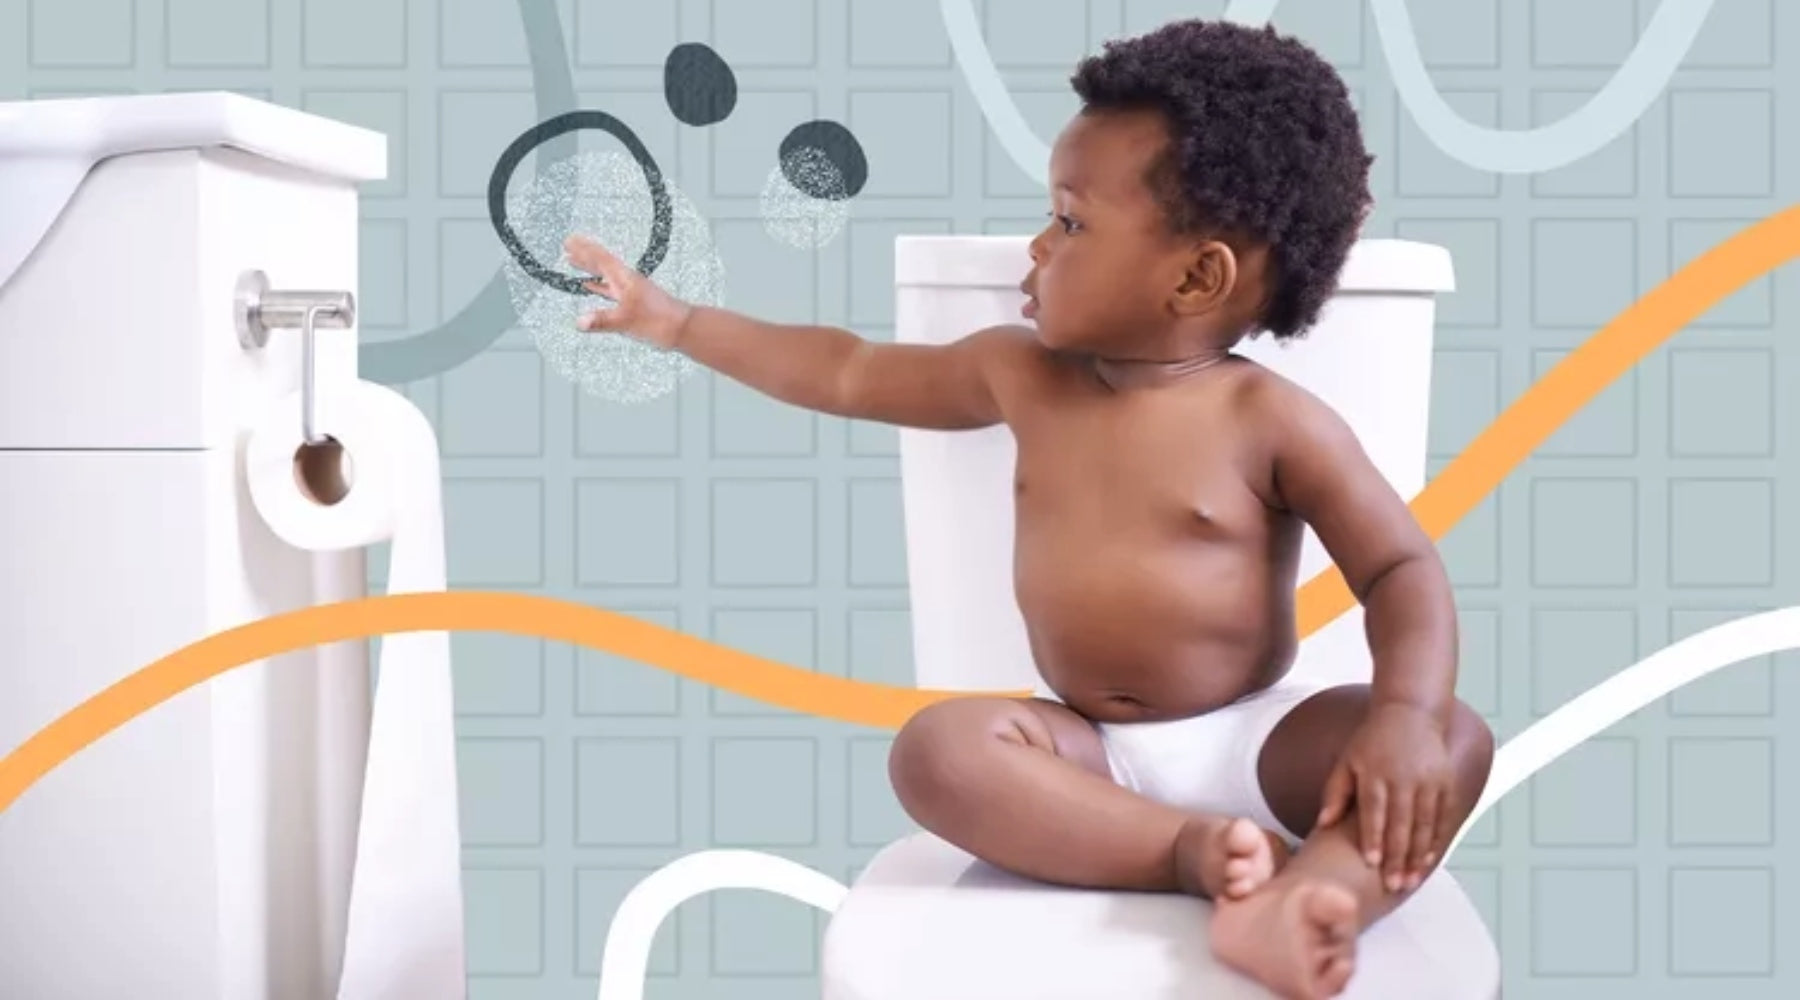
Potty training is one of those parenting milestones that can feel both exciting and a bit daunting. If you're thinking about trying the 3-day potty training method, I've got some tips and personal experiences to share that might help you through it.
When is it time for Potty Training
General readiness guidelines suggest that your child might be ready for potty training if they can walk to the toilet, pull their pants up and down, stay dry for two hours, and follow simple directions.
In our experience, encouraging readiness at 18 months worked very well. We began incorporating potty training books into our routine and casually discussed bodily fluids and functions during diaper changes. I would even show my child her poop, and within a month or so, she started communicating her bowel movement. That's when we decided it was a good time to try potty training.
Crucially, potty training requires consistent support from parents. Accidents are inevitable, and cleaning up plenty of messes is part of the process. Parents need to be ready too, so choose a time when you can dedicate the patience and effort needed to guide your child through this important milestone.
If you attempt the 3-day potty training method and your child seems overwhelmed or resistant after a few days, don’t hesitate to take a break and try again later.
What You'll Need for Potty Training
Before diving into the method, it's crucial to prepare:
- Consider a foldable potty training seat for convenience and travel, paired with a sturdy adult step stool. Adult step stools are more durable and versatile, ensuring long-term use even after Emily grows up. This minimalist setup helps your child gain confidence and independence by climbing and using the toilet on their own.
-
You'll need around 10-12 pairs of underwear. Accidents will happen, and it's important to have enough to get through the day.
-
Hydration is key to the process. Apple juice diluted with water is a great way to ensure your child drinks enough to create opportunities for potty training.
-
Nighttime accidents are inevitable, so a quality mattress protector is crucial. We choose GreenGuard-certified protection from Avocado, which guarantees low chemical emissions and better indoor air quality.
-
Boost excitement with engaging potty training books. We read Pottysaurus to Emily to help her feel more comfortable sitting on the potty. Other great options include Going to the Potty and On My Potty.
-
Do meal prep and grocery shopping in advance to save stress during the 3-day method. Rigid schedule will require your full attention.
-
Clear your schedule to stay home and provide full supervision, following a strict routine with a timer.
Ditching the Diapers
One of the key aspects of the 3-day method is going cold turkey on diapers. This might sound intense, but it's crucial to avoid confusing your child. Reintroducing diapers during the process can send mixed signals, which could delay the training.

Nighttime Potty Training
On day 3, we decided to skip the night diaper based on Emily's teacher's advice to avoid having to wean off night diapers later.
Make sure your toddler doesn't drink water an hour before bed, uses the potty before bedtime, and starts the morning with a trip to the potty. Also, protect the mattress with waterproof sheets.
Use Positive Reinforcement
Use positive language when talking about your child's bodily fluids. Offer encouragement like, "You missed it this time, but you'll make it to the bathroom next time". Be sure to praise them whenever they tell you they need to go, rush to the toilet on their own, or successfully use the potty.
Day 1: Getting Comfortable with the Potty
The first day is all about getting your child comfortable with the potty. In our experience, Emily was initially resistant to sitting on the potty. We made it fun by doing activities in the bathroom and using the toilet seat extension and steps to let her feel in control.
Here’s what worked for us
After breakfast, we gave Emily a lot of juice diluted with water. Make sure to give fluids all in one sitting, as this makes it easier to predict when they’ll need to go. We set a timer for 20 minutes and then put her on the potty for 1 minute. If she didn’t go, we set another timer for 5 minutes and had her sit on the potty for 1 minute again, repeating the 5-minute timer until she finally peed. Once she emptied her bladder, we gave her more juice, reset the timer for 20 minutes, and continued repeating the process.
On the first day, she had several big accidents, but thankfully they all happened on the floor. We made sure to keep her off the couch and in areas with tile or wooden flooring that had easy access to the bathroom.
When she had accidents on the floor, we’d calmly pick her up and take her to the potty, explaining, "Pee-pee goes in the potty. This was an accident, but that’s part of learning. Next time, try going to the potty when you need to pee."
The goal of the first day is to help your child feel comfortable on the potty and begin recognizing the urge to pee.
Day 2: Building Awareness
Day 2 is all about consistency. Emily transitioned from making big mistakes to smaller ones, which was a good sign that she was starting to control the urge to pee. She successfully used the potty 5-6 times that day, though she did poop in her underwear. It’s all part of the process!
Recently, I heard that letting them stay in wet underwear for a few minutes (once they start having smaller accidents) and allowing them to ask you to change it can help them associate the discomfort with not using the potty. At the time, we didn’t know about this.

Day 3: Hang in There
On the third day, Emily had to go back to school, and her teachers continued with the training. Their approach was slightly different, so if possible, I recommend staying home for three consecutive days. She had two small accidents but also managed to pee on the potty several times.
Day 4 and Beyond: Offering Potty at Key Times
By this point, Emily understood the concept of using the toilet. She was doing even better at school, so we followed the routine her teachers suggested:
- putting her on the potty before and after meals,
- before and after naps,
- and before leaving or returning home.
- On the go, we brought her foldable potty seat with us.
Teachers advised that most accidents happen when kids are focused on play, so it’s important to offer the potty frequently enough. Toddlers remember routines better than specific times, so creating habits like going potty at key times like before or after naps can help. Be prepared for accidents and always carry extra clothes, as full training can take a few weeks.
Managing New Challenges
By the end of the first week, Emily had made significant progress and even started pooping on the potty regularly. However, we noticed she began holding her pee for too long. This is common as kids test their new control, but if they hold it in too much, it can make it difficult for them to start peeing when they need to. This is why it's important to ensure they empty their bladder regularly.
What to do if Your Child is Holding the Pee in Too Long
- Blow Bubbles: The same muscles used to blow bubbles are used for peeing, so this can help.
- Warm Water Trick: Bring a bowl of warm water into the bathroom and let your child put their hands or feet in it. This worked for Emily almost instantly. Honestly, if we're in a rush and I really need her to pee, I still use this method sometimes.
- Running Water: Some parents use this trick, but I personally avoid it to conserve water.
- Shower: The goal is to encourage using the potty, but sometimes a child might struggle to pee after holding it in too long. In more challenging cases, a warm shower can help them relax and empty their bladder.
Potty training in three days is intense, but with preparation and patience, it’s an effective way to help your child gain independence. Remember, accidents are part of the journey, and every child progresses at their own pace. We’re in this together—share your biggest challenges, questions, or advice in the comments below. Good luck!
Looking for a Recipe? Search here!

Hey there! So… who even am I, and why should you trust me? I’m Tamara—just a girl trying to live her happiest, healthiest life.
After years of traveling the world as a digital nomad (with everything I owned in two suitcases), I discovered that a sustainable lifestyle gave me so much freedom and joy. I eat better food, I own fewer but better things, and this mindset helped me stay sane—especially after becoming a parent. I love my life and my daughter deeply, and that’s a big part of why I live low waste too: to respect the generations to come and do my part for a better tomorrow.
This little corner of the internet is a reflection of that journey—where I share what’s truly worked for me and what I genuinely use and love in my own life. So glad you're here!


Leave a comment
This site is protected by hCaptcha and the hCaptcha Privacy Policy and Terms of Service apply.